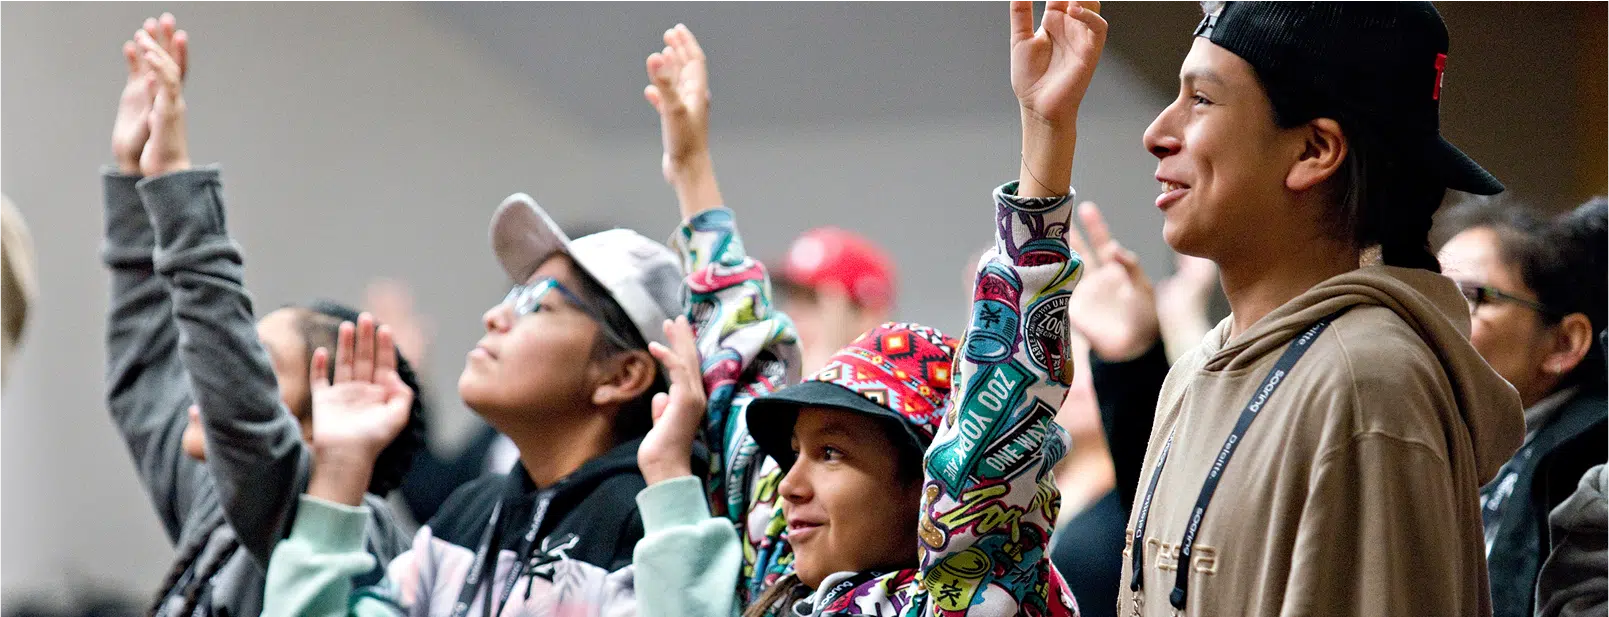
Crafting a ribbon skirt can be a wonderful, creative, and culturally fulfilling endeavour for new Indigenous post-secondary students in Canada. A ribbon skirt is not just an article of clothing, but a symbol of resilience, identity, and honour for many Indigenous communities. As a beginner, here is a step-by-step guide to making your first ribbon skirt.
Understanding the Cultural Significance
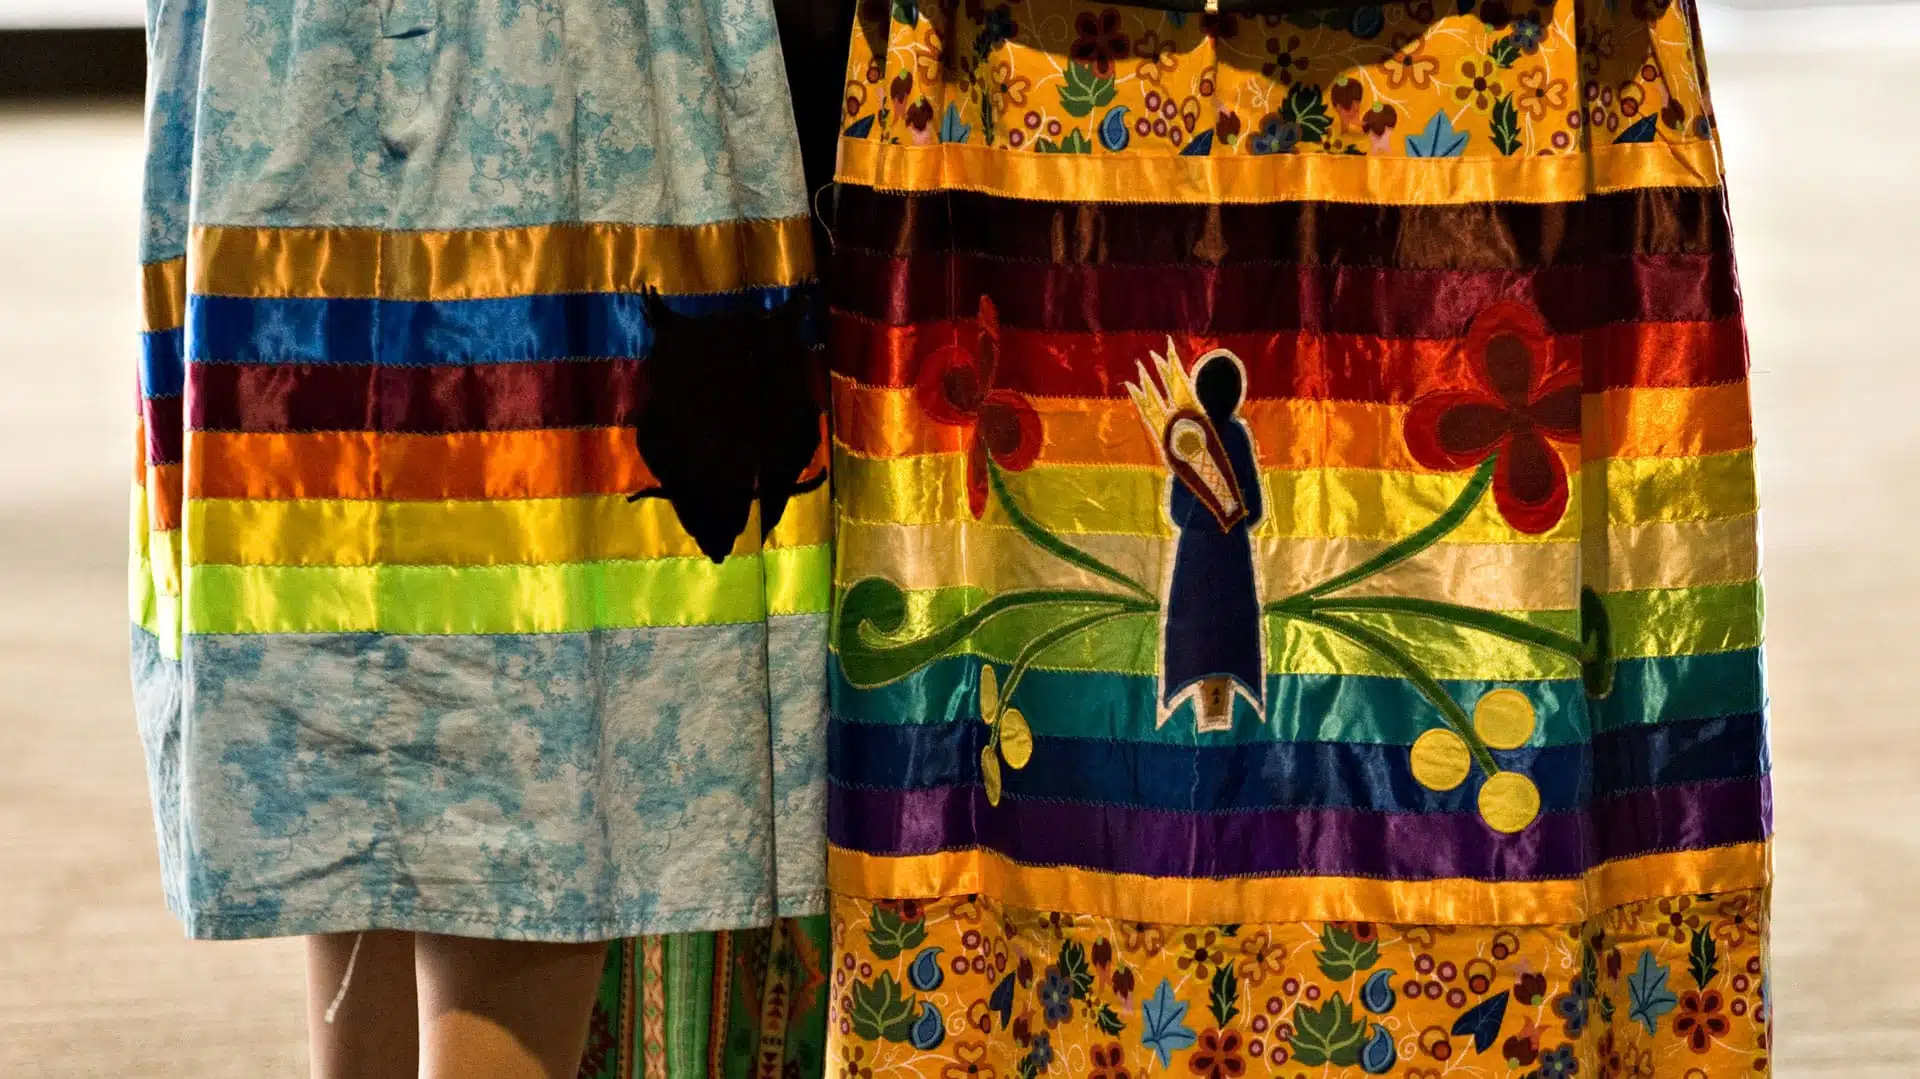
Ribbon skirts are a distinctive form of Indigenous women’s attire in many First Nations cultures. They represent honour and respect and are often worn during special events and ceremonies. Each skirt tells a story, and the colours and patterns often have specific cultural or personal meanings. Making and wearing a ribbon skirt is a powerful way to connect with your heritage.
Materials You’ll Need
To make a ribbon skirt, you will need fabric, ribbons, an elastic band or drawstring for the waist, a measuring tape, scissors, thread, and a sewing machine. Consider the colours and types of fabric and ribbon you choose, as these can hold specific meanings in your culture or personal story.
Measuring and Cutting the Fabric
Start by taking your measurements. You’ll need to measure your waist, the desired length of your skirt, and the width of your hips. Add an extra inch for the waist and hip measurements for seams. Cut two pieces of fabric using these measurements.
Arranging and Sewing the Ribbons
Before sewing the ribbons onto the fabric, lay them out in a pattern that appeals to you. Some skirts have ribbons in a single horizontal line near the hem, while others feature multiple rows of ribbons or diagonal patterns. Once you’re happy with your layout, sew each ribbon onto the fabric, one at a time.
Sewing the Skirt Together
Once your ribbons are securely attached, place the two pieces of fabric together with the decorated sides facing each other. Sew along the sides, leaving about half an inch for the seams. Remember not to sew the top edge together – this is where your waistband will go.
Adding the Waistband
Fold down the top edge to create a casing for the elastic band or drawstring. Ensure the casing is wide enough for your elastic or drawstring to fit through comfortably, then sew along the bottom of the folded fabric, leaving an opening to insert the elastic or drawstring. Thread the elastic or drawstring through the casing, then sew the opening shut. If you’re using elastic, make sure to sew the ends together before closing the opening.
Final Touches
After the waistband is secure, try on your skirt to check the fit and the length. If it’s too long, you can trim the bottom and hem it to your desired length.
Creating a ribbon skirt is a meaningful process that allows you to connect with your Indigenous heritage. As a post-secondary student, this act of creation can offer a sense of balance amidst your studies, providing not only a creative outlet but also a tangible connection to your culture and community. Your first ribbon skirt will be a testament to your resilience, your roots, and your commitment to carrying forward the vibrant traditions of your people.